Få penger for din gamle mobil
 Lag ditt egetdeksel og gadgets
 Ordrestatus
 Min Club Trendy


Utskiftning av iPhone 4S frontkamera




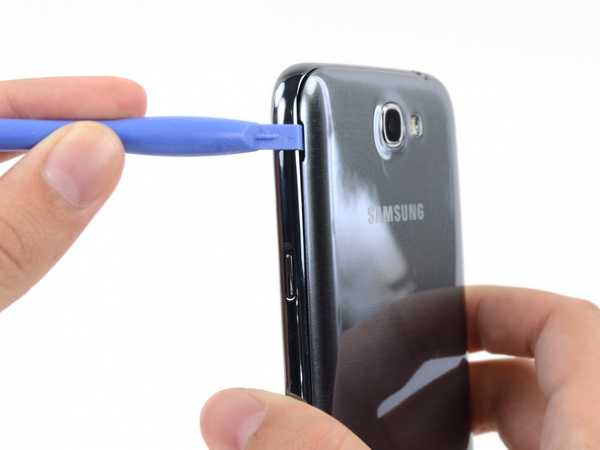


Steg 2 - Back Case
Tilbake til toppen
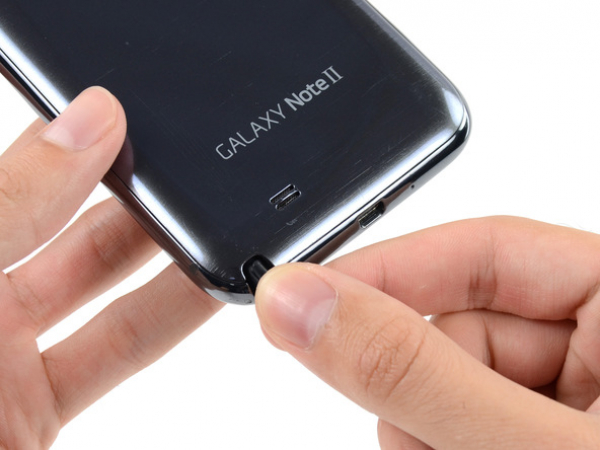
Push a plastic opening tool (or, if you don't have one, use your fingernail) into the small opening on the left side of the back camera (near the power button) to pry open the back cover.
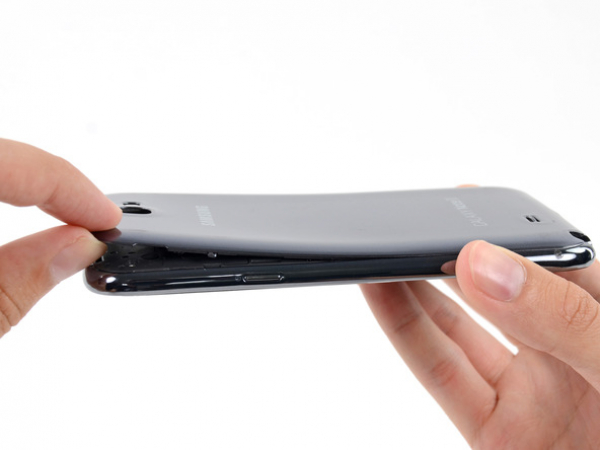


Steg 3
Take the corner of the back case closest to the small opening between your fingers and separate the back case from the phone.
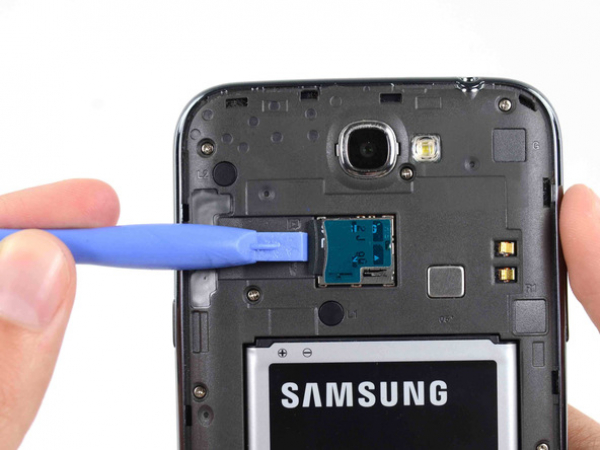


Steg 4 - MicroSD Card
Tilbake til toppen
Press the microSD card (if you have one) deeper into its slot with the flat end of a spudger (or your fingernail) until you hear a click.
After the click, remove the spudger to release the card. The card will pop out of its slot and you will be able to extract it.
For reassembly, you'll need to press the card back into its slot until you hear a click.
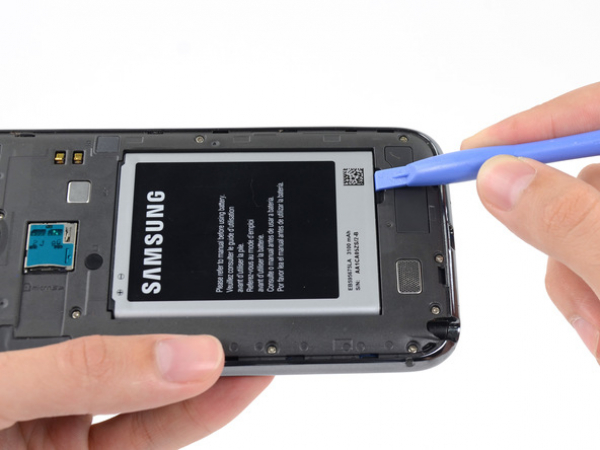


Steg 5 - Battery
Tilbake til toppen
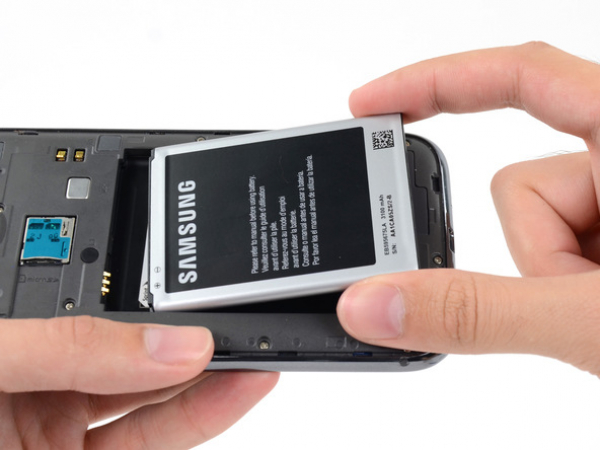
Use a plastic opening tool to lift the battery from the case. You need to insert the tool into the indentation above the battery compartment to do this.
Steg 7 - Midframe
Tilbake til toppen
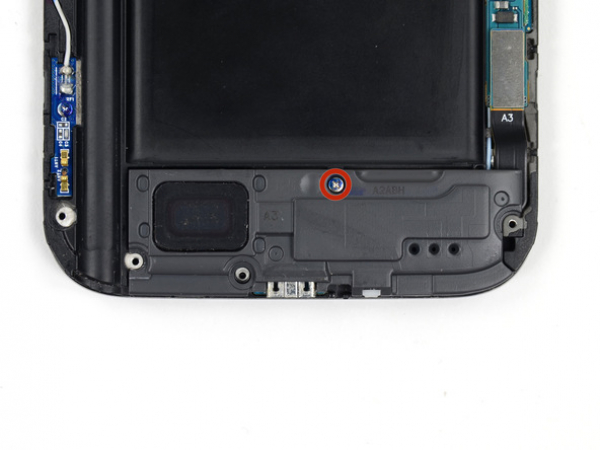
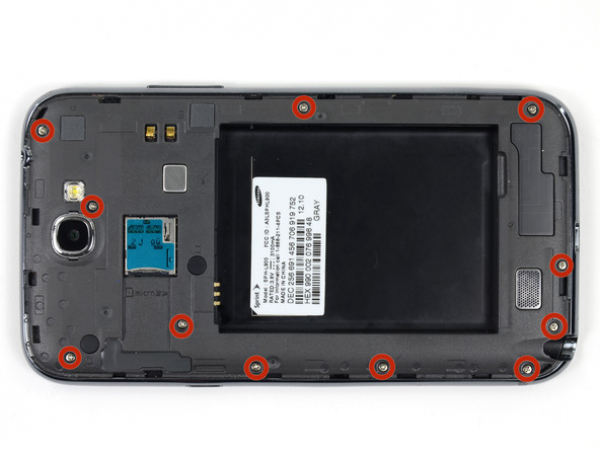
There are eleven Phillips screws (4.0 mm) securing the midframe to the display assembly. Remove them.


Steg 8
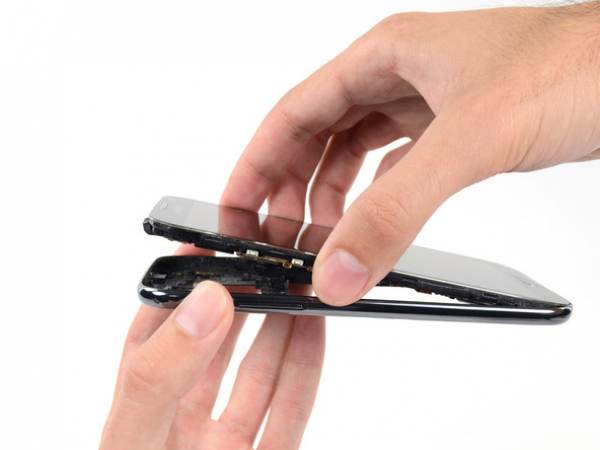
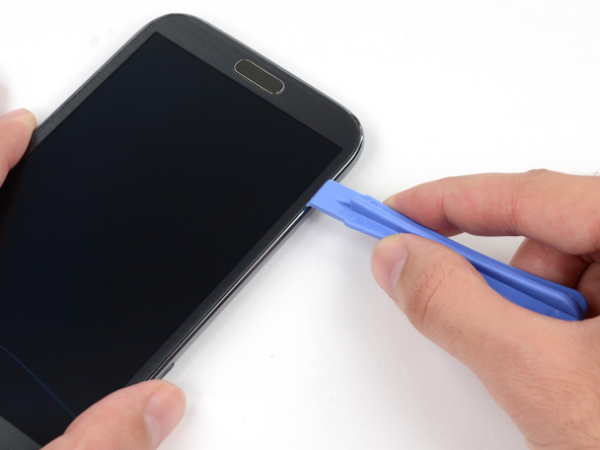
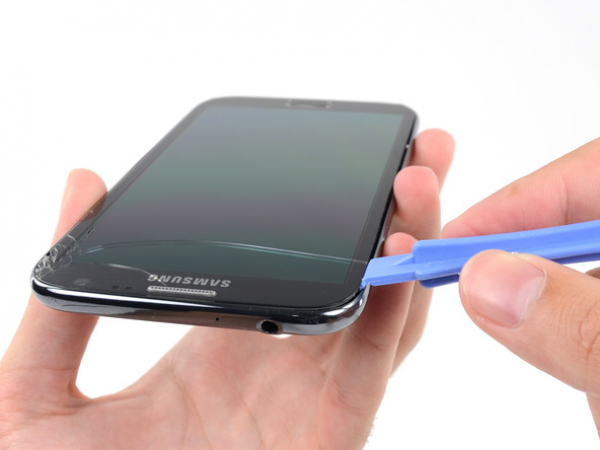
Wedge in the plastic opening tool between the midframe and the front panel assembly (the side of the phone).
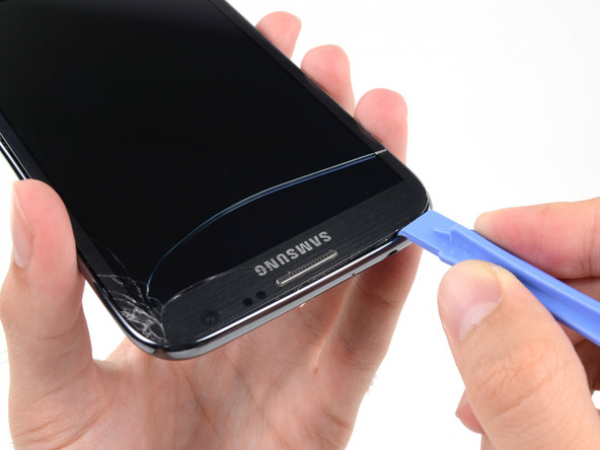
Move the opening tool down the line.








Steg 12
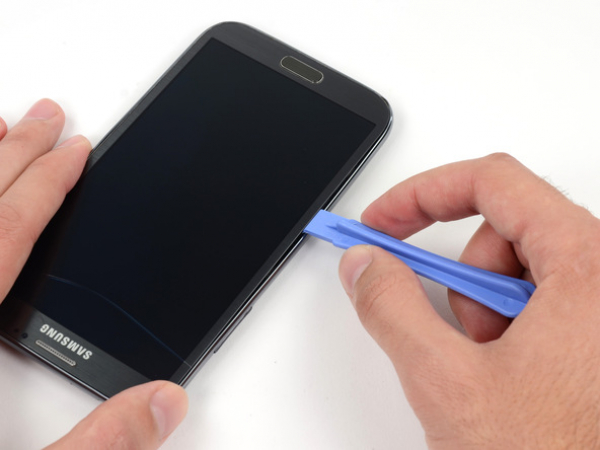
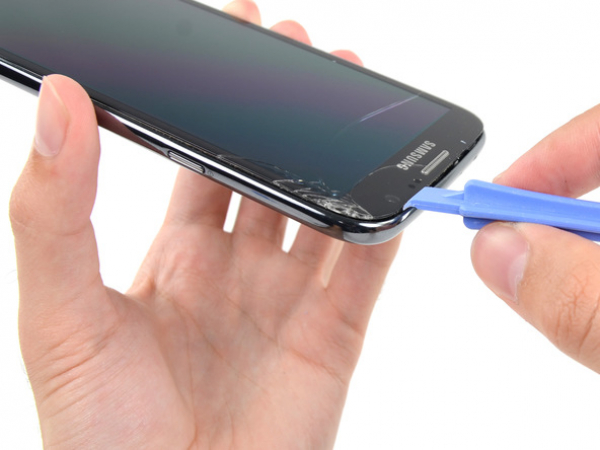
In order to separate the corner of the midframe from the display assembly, push the plastic opening tool down.


Steg 13
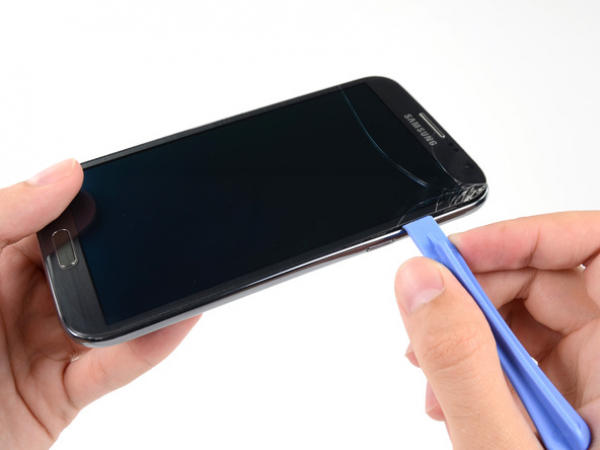
Continue sliding the plastic opening tool until you've freed the last of the clips on the power button side of the phone.