


iPad 4 Wi-Fi Adhesive Strips Replacement (New Panel)

Send this link via e-mail
|
Tweet |
|


Step 1 - Home Button Control Board
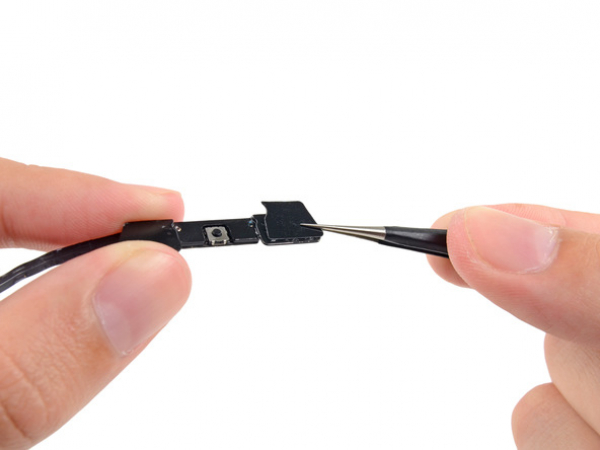
Two small trapezoidal adhesive strips are used to secure the home button bracket to the front panel.
Peel off the first strip using a pair of tweezers.
Put the first trapezoidal strip on the matching side of the home button mounting bracket. Do this with a pair of tweezers as well and make sure that its orientation is correct.
Line up the profile of the adhesive strip with the edge of the mounting bracket.
Do the same procedure for the other adhesive strip.
Step 2
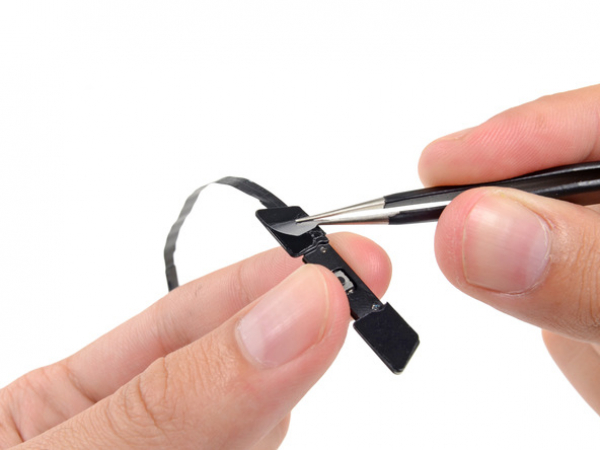
Take the corner of on of the strips on the mounting bracket with a pair of tweezers.
Lift up and peel the clear backing off the strip. Once you do this, you'll see the black adhesive strip.
Do the same procedure for the other adhesive strip.


Step 3
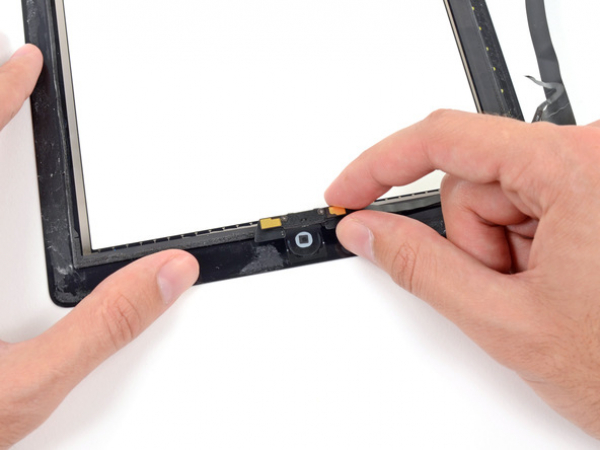
Carefully put the home button mounting bracket on top of the home button.
The home button mounting bracket should be lined up correctly with the bottom of the digitizer.


Step 4 - Adhesive Strips (Existing Panel)
Back to top
You'll be putting the remaining pieces of adhesive on the front panel.
Do not remove the clear backing from the strips immediately.
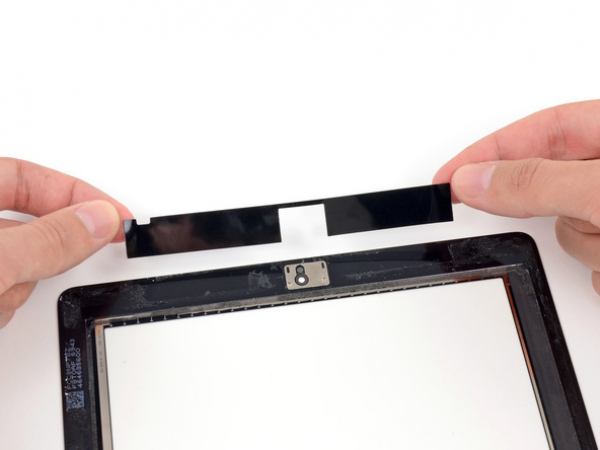
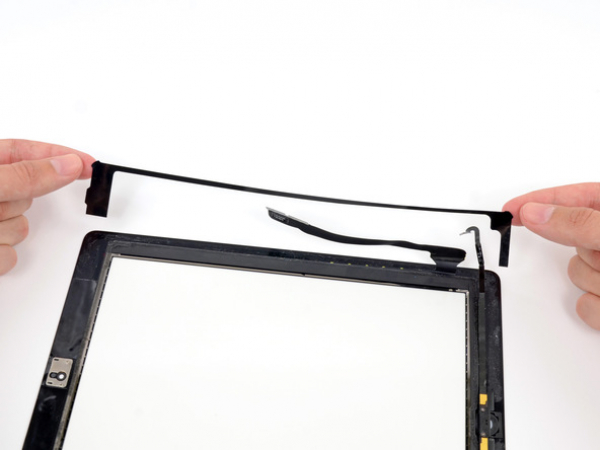
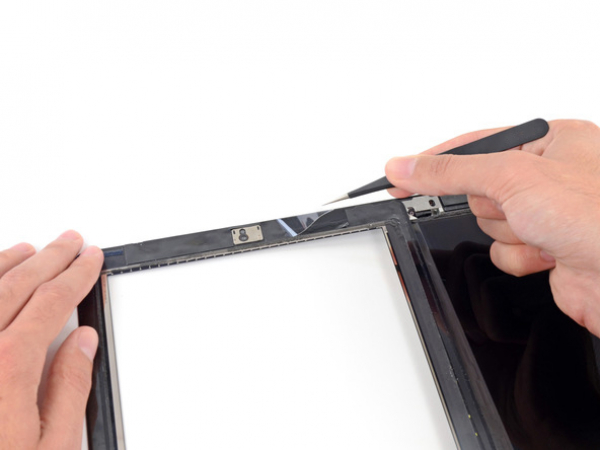
Put the adhesive strip in the shape of a bridge between the top edge of the inner frame of the front panel and the camera mounting bracket.
Smooth the strip down, starting from the centre and going out. Make sure that you don't trap any air bubbles between the strip and the front panel.


Step 5
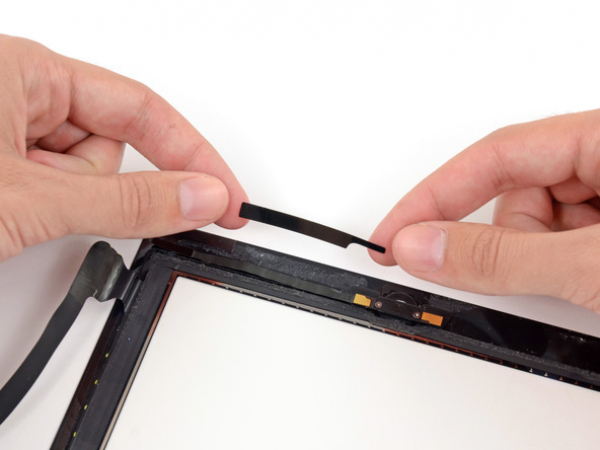
You need to press the adhesive strip in the shape of a 'C' on the right side of the front panel.


Step 6
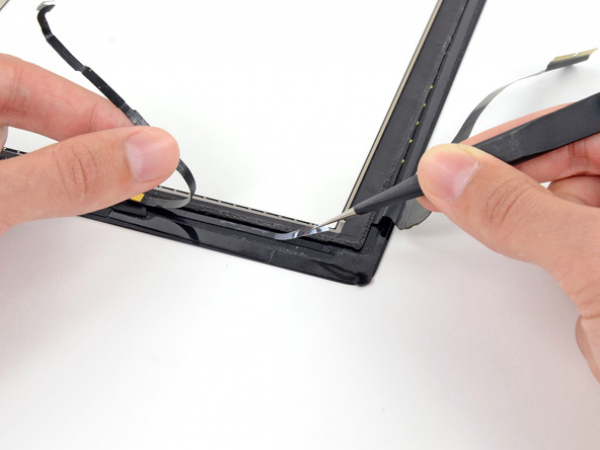
It is best to move the home button ribbon cable to the side while you're placing the next strip.
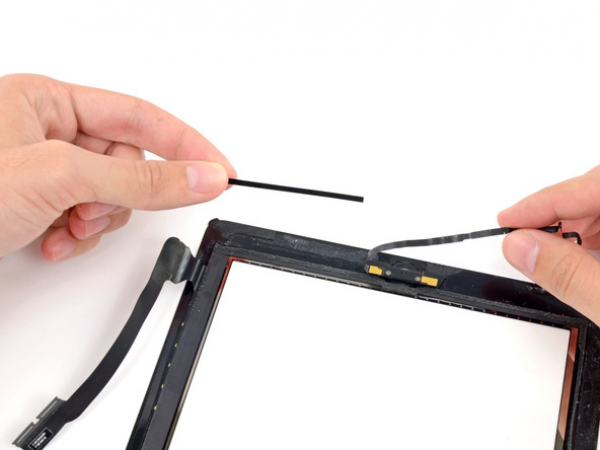
Put the straight, medium-length strip on the bottom right side of the front panel. This is right under the home button ribbon cable.


Step 10
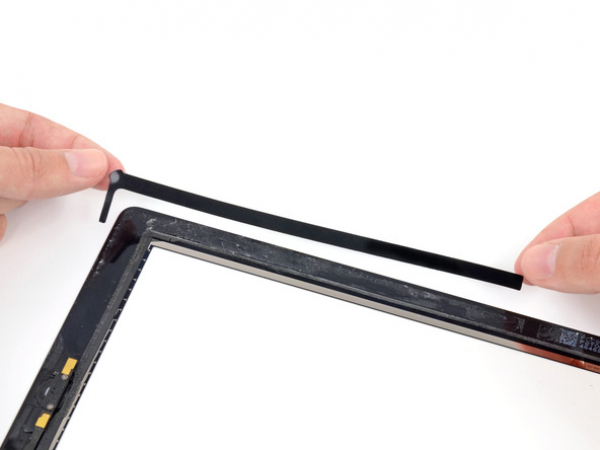
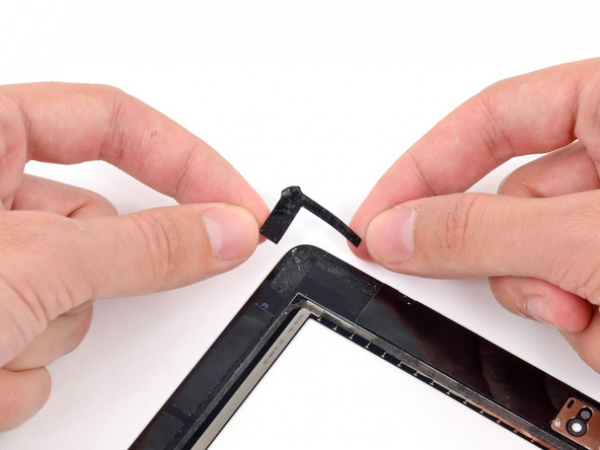
Finally, put the short strip in the shape of an 'L' on the top left corner of the front panel.


Step 11
Peel the clear backing off the adhesive strip that's located directly under the home button ribbon cable. Do this with a pair of tweezers.
Place the home button ribbon cable on the adhesive strip and smooth it out, starting from the centre and going out. Make sure that air bubbles don't get trapped between the strip and the front panel.
Do not remove the clear backing from the strips immediately.
Step 12
Once you have applied all the strips, reassemble the iPad and install your front panel assembly.
Before your close the front panel, peel the clear backing off each strip with a pair of tweezers.
Each strip should be put in the correct location and orientation before you peel off the backing.