


Samsung Galaxy S4 SIM Card Replacement

Send this link via e-mail
|
Tweet |
|
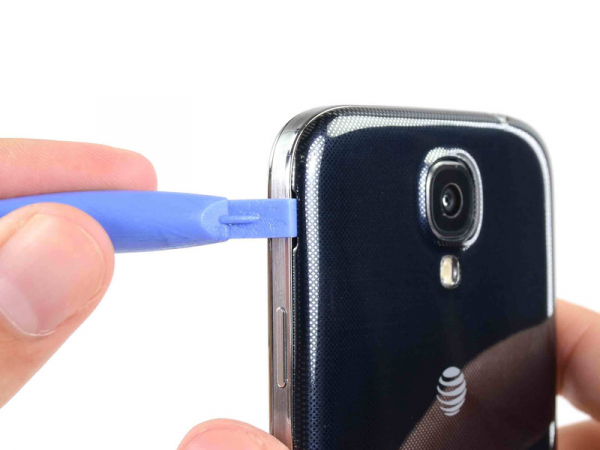


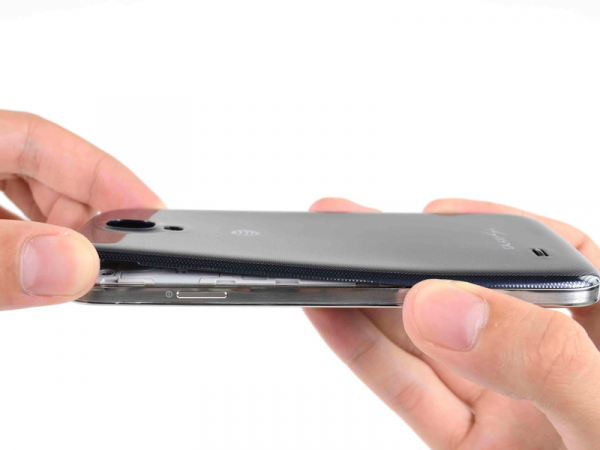
Step 1 - Back Case
Insert our opening tool in the recess to the left of the back-facing camera, in the area around power button.


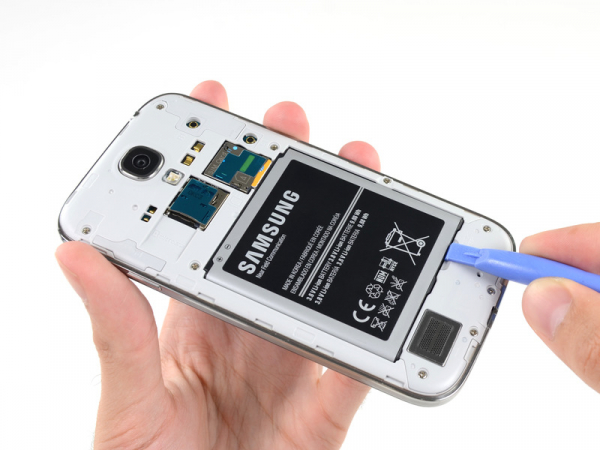


Step 3 - Battery
Back to top
Insert our opening tool into the notch of the battery compartment and lift the battery.
Remove the battery from your phone.
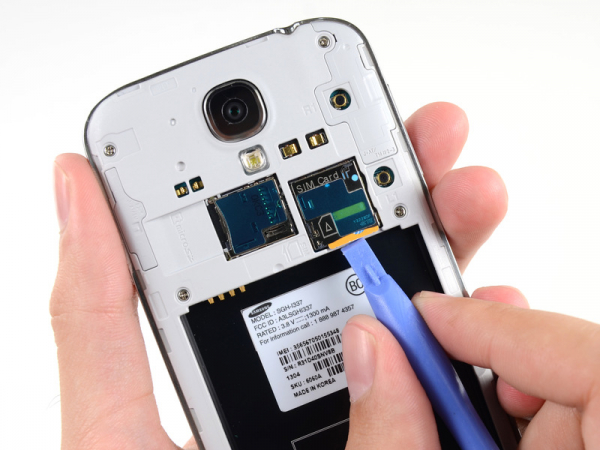


Step 4 - SIM Card
Back to top
To press the SIM card into its slot, use the flat part of our opening tool or a fingernail. Press it slightly deeper, until you hear the click sound.
Release the card after the click and it will pop out of its slot.
Remove the SIM card.
To reassemble, push the SIM card into the slot until it clicks in its place.